Some PCs are built.
Others arrive like a boss battle.
This one definitely belonged in the second category.
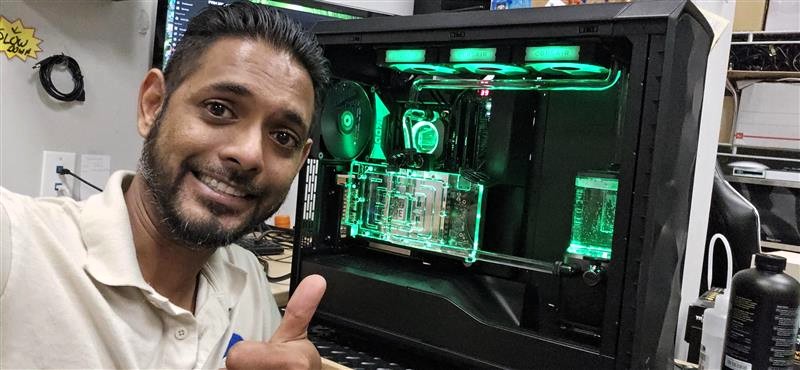
At PC Pros of Wellington, I was handed a customer’s dream machine with one simple request: build a custom water-cooled desktop that looks as wild as it performs.
The parts list alone read like a luxury car brochure for gamers and creators:
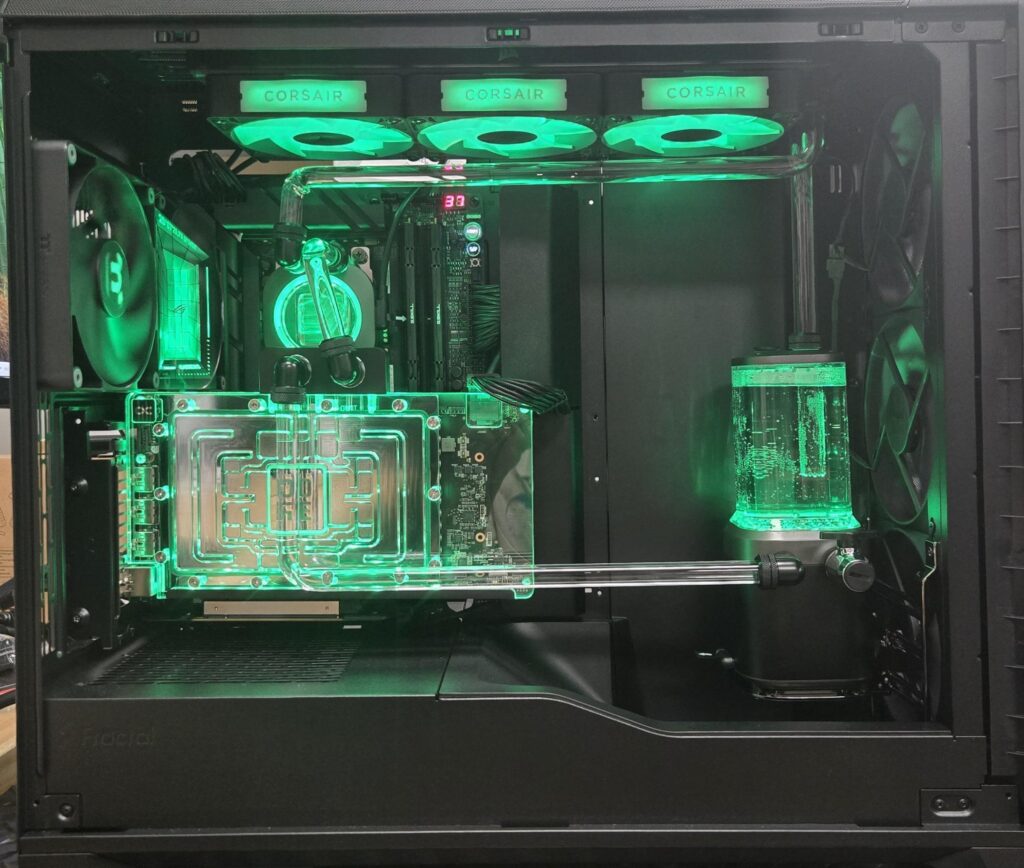
Custom Cooling Kit: CORSAIR XH505i RX 360 RGB — includes XC7 CPU water block, XD6 pump reservoir, 3x RX120 RGB fans, XR5 360mm radiator, and system hub
Case: Fractal Design Meshify 3 XL
CPU: AMD Ryzen 9 9950X3D 16-Core Processor
Motherboard: ASUS ROG Crosshair X870E Dark Hero
RAM: 64GB G.Skill DDR5 Ripjaws S5
Storage: 2x WD Black SN850 4TB NVMe M.2
Power Supply: be quiet! Dark Power Pro 1300W
GPU: ASUS ROG Astral GeForce RTX 5090
GPU Water Block: Alphacool Core 5090
In other words, this wasn’t a computer. It was a spaceship with paperwork.
At first, everything was going smoothly. Motherboard installed. CPU in place. Cooler mounted. Radiator and fans locked down. The build was looking clean, organized, and suspiciously cooperative. That should have been the warning sign.
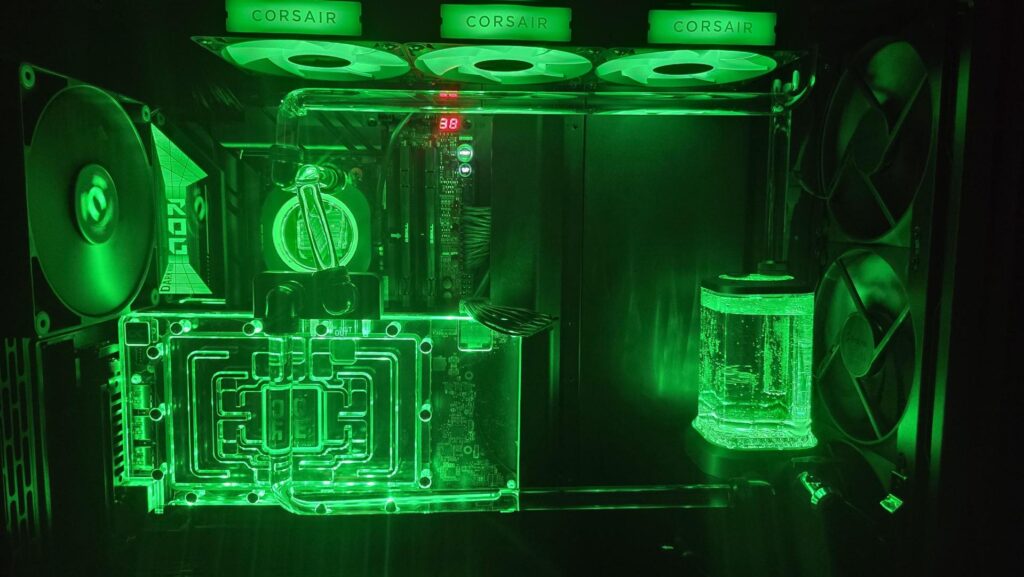
Then I noticed the case had an opening for a vertical GPU mount… but no actual mounting points. Since the customer wanted the water-blocked 5090 displayed vertically — because if you’re putting that much beauty into a GPU, you don’t hide it like a spare tire — I had to order a special vertical riser bracket. Problem solved?
Not even close.
The bracket came with a PCIe 4.0 riser cable, but this build needed a PCIe 5.0 riser for the ASUS ROG 5090. So I did what experienced builders do when the universe gets sarcastic: I adapted it. After some careful modification, I got the 5.0 cable connected to the bracket. Victory music started playing… briefly.
Next came the GPU water block installation. In theory, it’s straightforward: remove the original cooler, clean off the old thermal compound and pads with isopropyl alcohol, install the new thermal pads exactly as the Alphacool manual instructs, and mount the block. Simple. Calm. Civilized.
Until the GPU wouldn’t sit correctly in the vertical slot.
So now I was back to modifying the bracket again — realigning the riser cable, drilling new holes, and basically convincing a 4.0-designed bracket to stop living in the past and support a 5.0 future. After a few rounds of trial, error, and probably a couple of thousand-yard stares, I finally got the GPU mounted perfectly.
Then came the true test of patience: hard tubing.
This is where custom loops stop being a build and start becoming a negotiation with physics. If a bend is off by even inch, the connection won’t line up. There’s no “close enough” in hard tubing. There’s only “fits” and “start over.” Each tube had to be heated, bent at the exact point, and shaped without cracking, warping, or turning a perfectly good piece of tubing into an expensive lesson. After several miscalculations and re-dos, the loop was finally complete and sealed for testing.
Then came the longest five hours in PC building: the leak test.
Thankfully, everything held. No leaks. No disasters. No emotional speeches to a puddle of coolant.
From there, the rest was smooth sailing. Windows installed without drama, drivers loaded cleanly, and the system fired up exactly as it should. Final temperatures came in at an impressive on the CPU and on the GPU — cool, stable, and worthy of the monster hardware inside.
If this build taught me anything, it’s the same lesson every serious custom builder learns eventually: patience is part of the process. When a build fights back, sometimes the smartest move is to step away, clear your head, and come back ready to solve the next problem.
Because with a machine like this, the end result is worth every modification, every re-bend, and every moment of “you’ve got to be kidding me.”
And in the end, that’s exactly what happened at PC Pros of Wellington: one beast of a custom loop, built the right way.